

Get this plugin
Review the source, then continue to the publisher.
dsh plugin add dsh-grok-tui@latest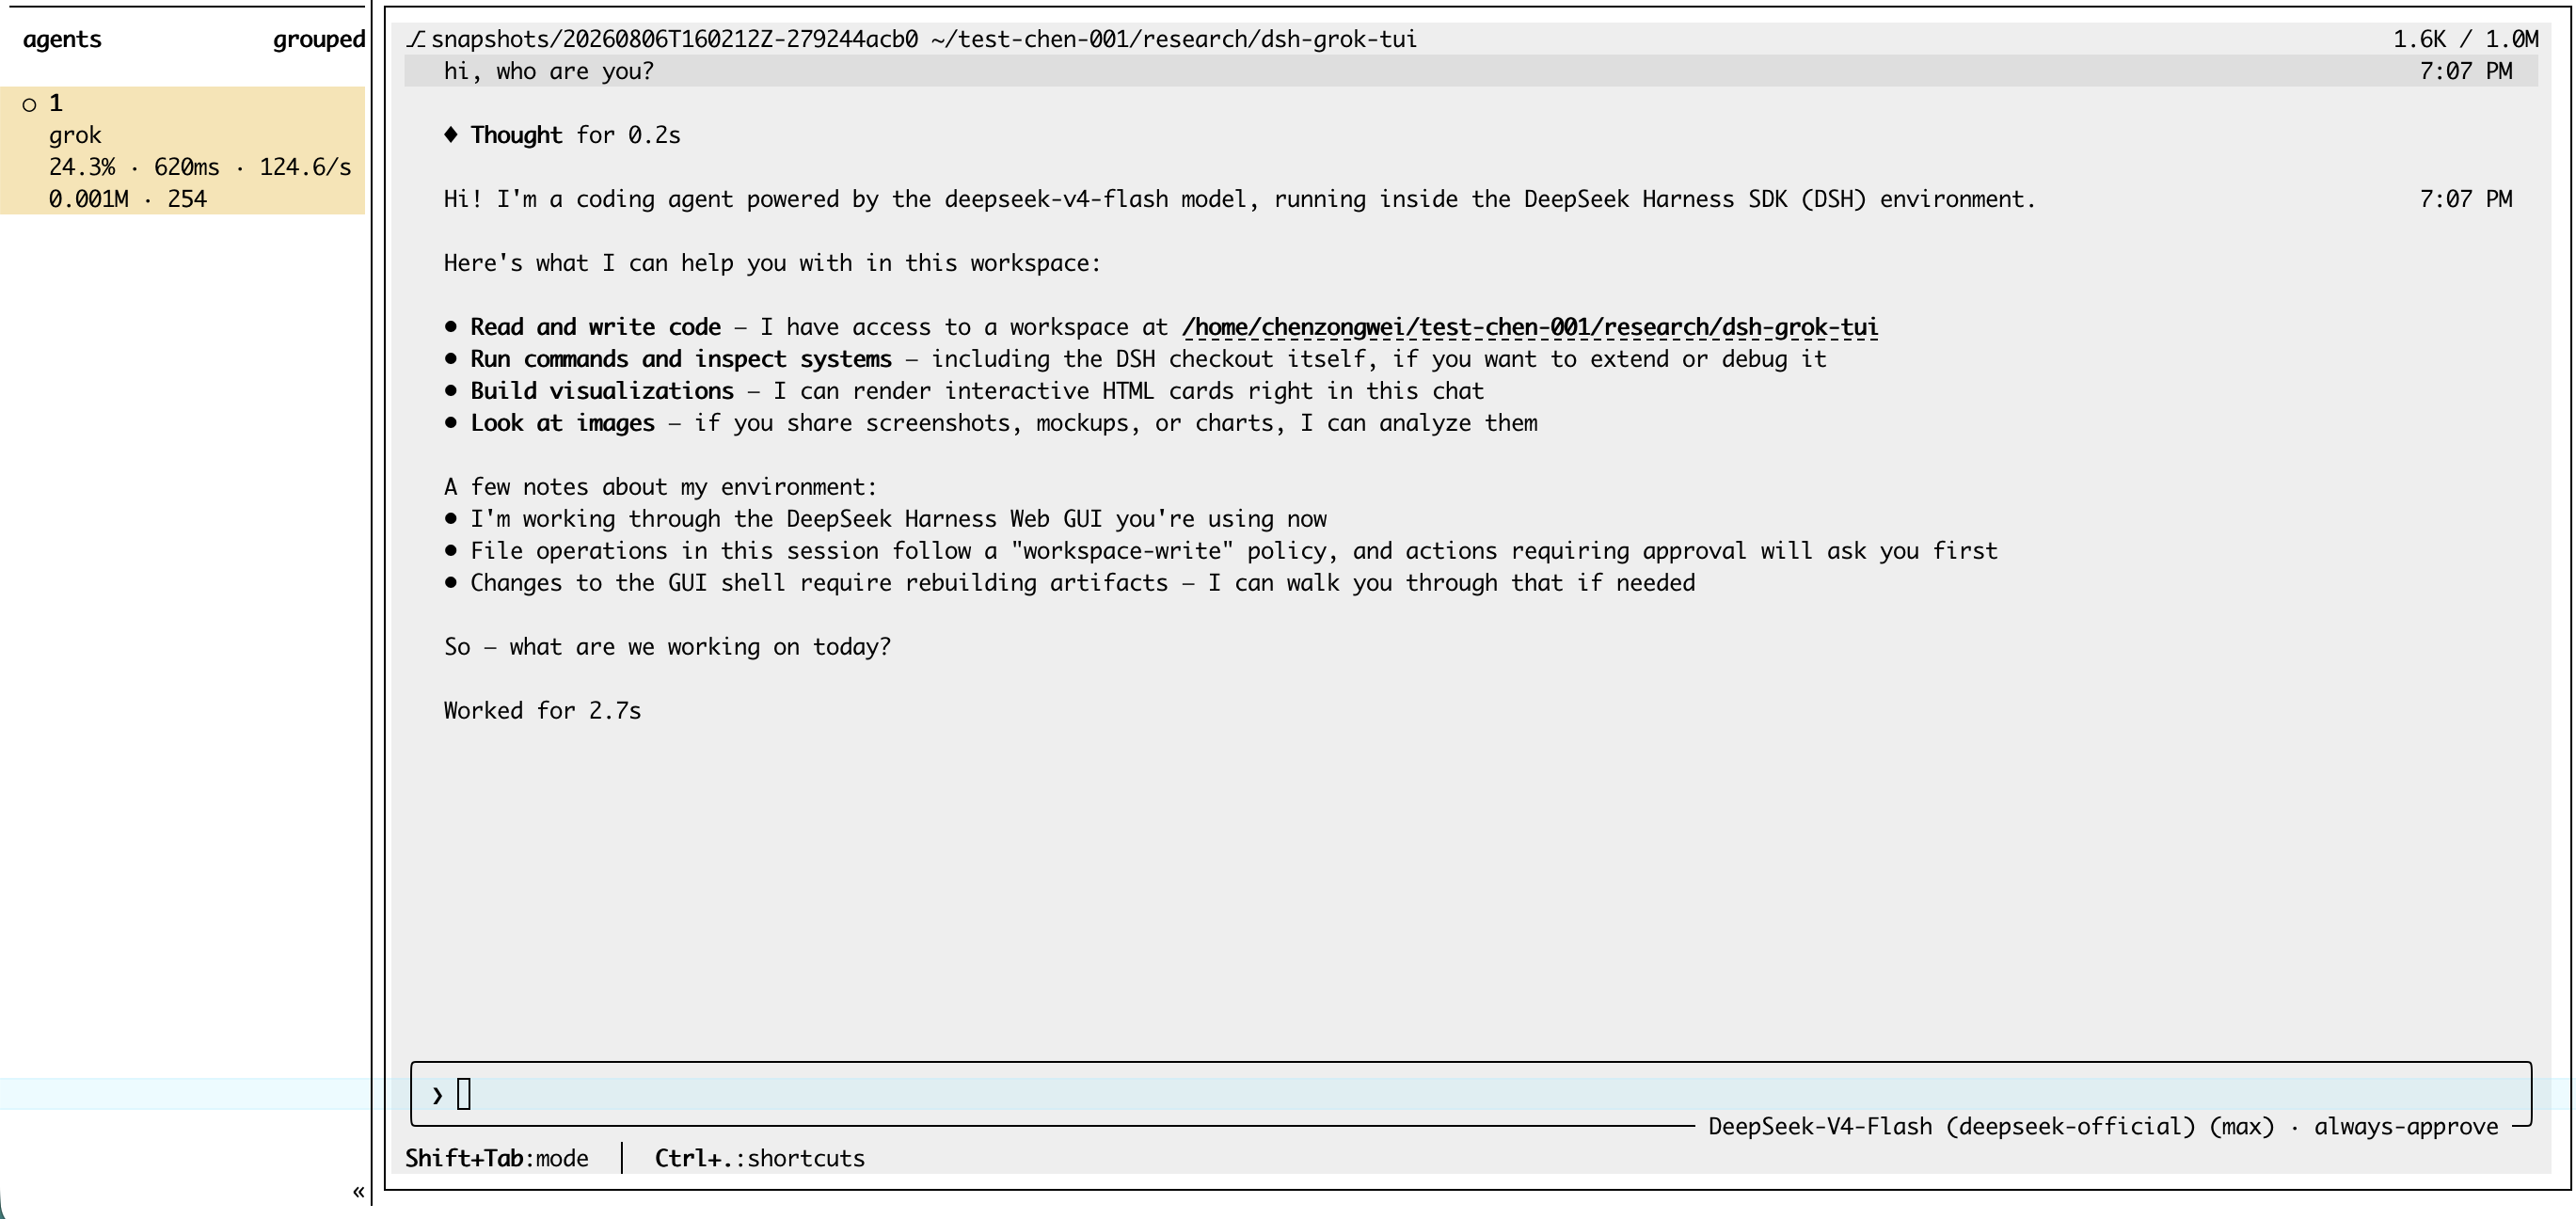
About this plugin
Source snapshot 8/13/2026dsh-grok-tui
把 grok-build 的 TUI 作为 DeepSeek Harness (dsh) 的前端:界面是 grok 的,内核(提示词、工具、模型路由、会话持久化)由 dsh 提供。
Grok's TUI as a frontend for DeepSeek Harness (dsh): the interface is grok's, the engine (prompts, tools, model routing, persistence) is dsh's.
安装 / Installation
前提:已安装 dsh 与 grok TUI 二进制(curl -fsSL https://x.ai/cli/install.sh | bash)。支持 macOS / Linux。
Prerequisites: dsh and the grok TUI binary (curl -fsSL https://x.ai/cli/install.sh | bash). macOS / Linux.
方式 A:npm 发布版 / Published npm package
npm install -g dsh-grok-tui
grok-dsh setup        # 把 grok bridge 挂进 dsh web 的 profile(幂等,可重复执行)
                      # wire the grok bridge into the dsh web profile (idempotent)
npx @deepseek-ai/dsh web   # 启动官方 host / start the official host
grok-dsh              # 打开 TUI,直连运行中的 dsh web
                      # open the TUI, bridging to the running dsh web
grok-dsh setup 是显式的(npm 全局安装不会静默改写你的 dsh 配置):它把 grok-server 行写进 ~/.dsh/profiles/web/cordis.patch.yml 并把插件软链进 profile 的 node_modules,npx @deepseek-ai/dsh web 随之携带 leader socket。host 已在运行时重装后需重启一次。
grok-dsh setup is explicit (a global install never silently rewrites your dsh config): it adds the grok-server row to ~/.dsh/profiles/web/cordis.patch.yml and links the plugin into the profile's node_modules, so npx @deepseek-ai/dsh web carries the leader socket. Restart the host once if it is already running.
方式 B:git 完整安装 / Full installer
git clone https://github.com/chen-001/dsh-grok-tui.git
cd dsh-grok-tui && sh install.sh
This installer performs the same bridge hookup automatically, then builds and writes the grok-dsh launcher into your PATH.
两种方式安装后的行为完全一致(命令、herdr 侧栏自动配置、用量面板)。
Both paths behave identically afterwards (command, automatic herdr sidebar config, usage panels).
使用 / Usage
先启动官方 host(推荐),再打开 TUI:
Start the official host first (recommended), then open the TUI:
dsh web                # 启动官方 host / start the official host
grok-dsh               # 打开 TUI:检测到运行中的 dsh web 则直连,否则启动本窗口独立后端
                       # open the TUI: bridges to a running dsh web, else starts a per-window backend
grok-dsh stop          # 停止所有独立后端 / stop all standalone backends
grok-dsh status        # 查看 host 桥 / 独立后端状态与 grok 版本 / host bridge & backend status, grok version
grok-dsh restart       # 重启当前窗口的独立后端 / restart this window's standalone backend
在哪个目录运行 grok-dsh,会话的工作目录就在哪个目录。独立后端与 dsh web 不要同时运行(两者写同一会话存储)。
Run grok-dsh in the directory you want the session's working directory to be. Do not run a standalone backend while dsh web is up (both write the same session store).
用量指标展示 / Usage metrics
官方 grok 二进制即可显示 token 用量(状态栏 18K/1.0M context bar)。完整指标——缓存命中率、TTFT、TPS、输入/输出 token——在以下环境自动展示,无需编译任何 grok 源码:
The stock grok binary already shows token usage (the 18K/1.0M context bar). Full metrics — cache hit rate, TTFT, TPS, in/out tokens — appear automatically in these environments, no grok source build needed:
推荐:在 herdr 中使用 / Recommended: inside herdr
在 herdr 的 pane 里运行 grok-dsh,指标实时显示在左侧 agents 列表的 grok 条目下(herdr 侧栏配置由安装自动完成,重启 herdr 或 reload config 后生效):
Run grok-dsh inside a herdr pane and the metrics appear live under the grok entry in the agents list (herdr sidebar config is installed automatically; reload herdr or its config to pick it up):
| token | 内容 / Metric | 示例 / Example |
|---|---|---|
dsh_cache | 缓存命中率 / cache hit rate | 99.6% |
dsh_ttft | 平均首 token 延迟 / avg time-to-first-token | 0.8s |
dsh_tps | 平均输出速率 / avg output tokens/s | 204.1/s |
dsh_in / dsh_out | 累计输入/输出 token / cumulative in/out tokens | 64 / 175 |
在 tmux 中使用 / Inside tmux
在 tmux 里运行 grok-dsh 会自动在 TUI 下方开一个用量面板窗格(按 q 关闭):
Running inside tmux auto-opens a usage panel below the TUI (press q to close):
╭─ dsh usage ─────────────────────╮
│ cache hit     99.6%  (18.0K read) │
│ input            64 tokens       │
│ output          172 tokens       │
│ total         18.1K tokens       │
│ api calls           1            │
│ tool time        0.0s            │
╰─────────────────────────────────╯
Related DeepSeek Harness Plugins
Browse Developer Tools →
为 DeepSeek Harness (DSH) 插件生态打造的现代化桌面端解决方案。万物皆「插件」,桌面本身也是「插件」。

The plugin market inside DeepSeek Harness — browse, search, one-click install · DSH 可视化插件市场

Whale Girl skin series for DeepSeek Harness. 适用于 DeepSeek Harness 的,鲸鱼娘系列皮肤。

把 DeepSeek Harness 装进你的口袋:电脑上跑 dsh web,手机扫码即同步访问(局域网 + 公网,实时同屏)Put DeepSeek Harness in your pocket: run dsh web on your computer and access it synchronously by scanning a QR code on your phone (LAN + public network, real‑time screen mirroring)